





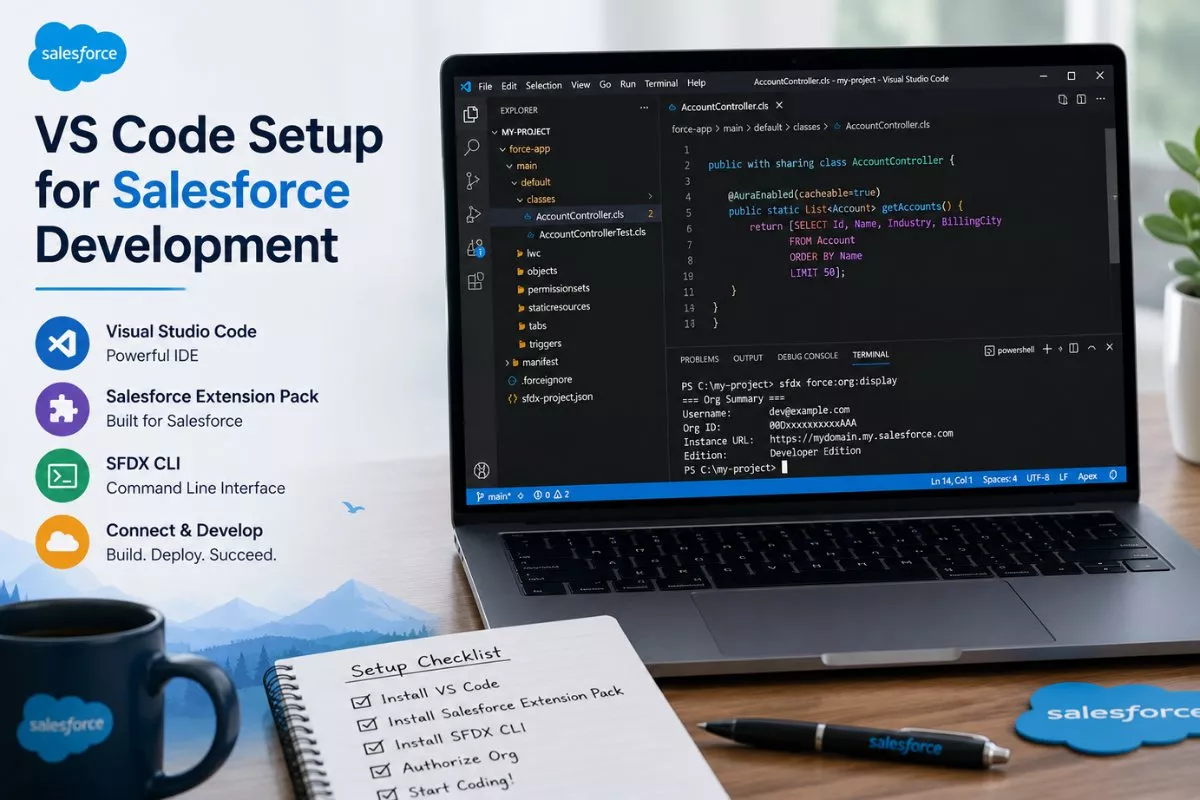
VS Code Setup for Salesforce Development is one of the first major steps every Salesforce developer should learn properly.
Because once your development environment is configured correctly, Salesforce development becomes much smoother.
And honestly, modern Salesforce development heavily depends on VS Code now.
Most professional Salesforce teams use VS Code for:
- Apex development
- Lightning Web Components
- metadata deployment
- Git integration
- debugging
- Salesforce CLI operations
I still remember when Salesforce development mostly depended on Developer Console and Eclipse. But once VS Code and Salesforce DX became standard, development workflows improved dramatically.
Today, almost every serious Salesforce project uses VS Code.
In this guide, we will understand:
- How to install VS Code
- Salesforce CLI setup
- Required extensions
- Org authorization
- Project creation
- Metadata retrieval
- Deployment process
- Common beginner issues
- Best practices
By the end of this article, you will have a proper Salesforce development environment ready for real projects.
What is VS Code for Salesforce?
VS Code, or Visual Studio Code, is a lightweight code editor developed by Microsoft.
Salesforce developers use it for:
- Apex coding
- Lightning Web Components
- debugging
- metadata deployment
- Git operations
- Salesforce CLI commands
With Salesforce extensions installed, VS Code becomes a complete Salesforce development environment.
Why Salesforce Developers Use VS Code
Modern Salesforce development requires much more than simple browser based coding tools.
Developers need:
- source control
- deployment tools
- extensions
- debugging support
- metadata management
- CLI integration
VS Code handles all of these efficiently.
That is why Salesforce officially recommends VS Code for development workflows.
You can learn more about Salesforce development tools from the official salesforce developer documentation.
Prerequisites Before VS Code Setup
Before starting VS Code Setup for Salesforce Development, make sure these tools are available on your machine.
Install Visual Studio Code
Download the latest VS Code version for your operating system.
Supported platforms include:
- Windows
- macOS
- Linux
Install Salesforce CLI
Salesforce CLI is required for:
- org authorization
- deployments
- metadata retrieval
- project creation
Without Salesforce CLI, VS Code cannot interact properly with Salesforce orgs.
Install Java JDK
Some Salesforce extensions depend on Java.
Usually recommended versions are:
- JDK 21
- JDK 17
- JDK 11
Install Node.js
Node.js becomes important for:
- Lightning Web Components
- npm packages
- frontend tooling
Most developers install the latest LTS version.
Step 1: Install VS Code
Open the VS Code installer and complete the installation process.
After installation:
- launch VS Code
- check for updates
- ensure terminal access works correctly
This becomes your main Salesforce development workspace.
Step 2: Install Salesforce CLI
Now install Salesforce CLI.
After installation, verify it using terminal:
sf --versionIf the version appears successfully, Salesforce CLI is installed correctly.
This step is extremely important because almost every Salesforce DX operation depends on CLI access.
Step 3: Install Salesforce Extension Pack
Now open VS Code.
Go to:
Extensions → Search → Salesforce Extension Pack
Install the extension pack.
This package automatically installs important Salesforce tools including:
- Apex support
- Salesforce CLI Integration
- Lightning Web Components
- Visualforce support
- SOQL Builder
- Debuggers
This is where VS Code starts becoming Salesforce ready.
Important Extensions Included
The Salesforce Extension Pack includes several useful developer tools.
Apex Extension
Provides:
- syntax highlighting
- IntelliSense
- Apex validation
Apex Replay Debugger
Helps developers replay Apex debug logs.
SOQL Builder
Makes writing SOQL queries easier.
Lightning Web Components Extension
Supports LWC development workflows.
Salesforce CLI Integration
Connects VS Code with Salesforce CLI commands.
Step 4: Create Salesforce DX Project
Now open Command Palette:
Ctrl + Shift + PSearch:
SFDX: Create Project with ManifestChoose:
- project name
- save location
VS Code now creates the Salesforce DX project structure.
This becomes your local Salesforce workspace.
Understanding Salesforce DX Projects
A Salesforce DX project contains:
- Apex classes
- Lightning components
- metadata
- manifest files
- configuration settings
This structure helps teams manage Salesforce development properly.
Modern Salesforce development heavily relies on Salesforce DX architecture.
Step 5: Authorize Salesforce Org
Now we connect VS Code with Salesforce.
Open Command Palette again.
Search:
SFDX: Authorize an OrgChoose environment:
- Production
- Sandbox
- Developer Org
Salesforce login opens in browser.
After authentication, your org connects with VS Code successfully.
Production vs Sandbox Authorization
Beginners often get confused here.
Production
Used for:
- Developer Editions
- live orgs
- production environments
Sandbox
Used for:
- testing
- QA
- development environments
Always double check which org you are connecting.
This mistake happens more often than beginners expect.
Step 6: Retrieve Metadata from Salesforce
Now your VS Code environment is connected.
Next step is retrieving Salesforce metadata.
Open:
package.xmlThen select:
SFDX: Retrieve This Source from OrgVS Code downloads metadata into your local project.
This includes components like:
- Apex classes
- objects
- fields
- flows
- Lightning components
Real Project Example
During real Salesforce implementations, developers constantly retrieve metadata while:
- fixing bugs
- modifying Apex
- updating flows
- deploying changes
Without proper retrieval workflows, development becomes messy quickly.
This is why Salesforce DX became so important.
Step 7: Deploy Changes to Salesforce
Once development is complete, you can deploy components back to Salesforce.
Right click file:
Deploy This Source to OrgVS Code pushes changes into the connected Salesforce org.
This workflow is used daily by Salesforce developers.
VS Code vs Developer Console
This is a very common beginner question.
| Feature | VS Code | Developer Console |
|---|---|---|
| Full IDE Support | Yes | Limited |
| Git Integration | Yes | No |
| LWC Development | Yes | Limited |
| Deployments | Yes | Limited |
| Debug Logs | Yes | Yes |
| Quick Apex Testing | Limited | Excellent |
In simple words:
Developer Console is useful for quick debugging.
VS Code is better for modern Salesforce development.
If you are still learning Salesforce Developer Console, our beginner guide explains how developers use it for Apex testing, debugging, and SOQL queries.
VS Code vs Workbench
Another common beginner confusion.
Workbench
Best for:
- API testing
- metadata inspection
- data export
- SOQL queries
VS Code
Best for:
- coding
- deployments
- source control
- Salesforce DX workflows
Both tools are valuable but used differently.
Our Salesforce Workbench Tutorial for Beginners explains how admins and developers use Workbench for APIs, queries, and data operations.
Common Beginner Errors
After working with Salesforce beginners, I repeatedly see these setup issues.
Salesforce CLI Not Recognized
Usually happens because:
- CLI installation failed
- PATH variable missing
- terminal restart required
Java Errors
Many Salesforce extensions depend on Java.
Wrong JDK versions often create issues.
Org Authorization Failed
This may happen because:
- browser restrictions
- expired login
- blocked popups
- incorrect environment selection
Metadata Retrieval Not Working
Common reasons:
- invalid package.xml
- permission issues
- disconnected org
- unsupported metadata types
What I Have Seen in Real Salesforce Projects
One thing I consistently notice is that developers who properly learn Salesforce setup tools early become productive much faster.
Because modern Salesforce development depends heavily on:
- VS Code
- Salesforce CLI
- Git
- Salesforce DX
- deployment workflows
Without understanding these tools, developers struggle during real implementations.
The strongest Salesforce developers usually become comfortable with development environments very early in their learning journey.
Best Practices for VS Code Setup
Here are some practical recommendations.
Use Separate Sandbox Environments
Avoid direct development in Production.
Sandbox environments exist for safe testing.
Keep Extensions Updated
Salesforce extensions receive regular updates.
Outdated extensions often cause compatibility problems.
Learn Salesforce CLI Commands
CLI knowledge dramatically improves productivity.
Especially for:
- deployments
- retrievals
- automation
- org management
Use Git from the Beginning
Version control becomes critical in real Salesforce teams.
Even beginners should start learning Git workflows early.
Organize Projects Properly
Avoid mixing multiple unrelated orgs inside one workspace.
Clean project structure improves maintainability.
Why VS Code Matters for Salesforce Careers
Once beginners complete VS Code Setup for Salesforce Development properly, Salesforce development becomes much less intimidating.
Because now you understand:
- how Salesforce DX works
- how deployments happen
- how metadata retrieval works
- how modern Salesforce development works
- how professional teams build Salesforce applications
And honestly, this setup becomes the foundation for almost every advanced Salesforce development topic later.
FAQ
What is VS Code used for in Salesforce?
VS Code is used for Salesforce development tasks like Apex coding, Lightning Web Component development, deployments, metadata retrieval, debugging, and Salesforce CLI integration.
Is VS Code free for Salesforce development?
Yes, Visual Studio Code is completely free and widely used across the Salesforce ecosystem for development workflows.
Do I need Salesforce CLI for VS Code?
Yes, Salesforce CLI is required because VS Code uses it for org authorization, deployments, metadata retrieval, and Salesforce DX operations.
Which extensions are required for Salesforce VS Code setup?
The most important extension is the Salesforce Extension Pack, which includes Apex support, SOQL Builder, Lightning Web Components, and Salesforce CLI integration.
Is Developer Console still used if developers use VS Code?
Yes. Many developers still use Developer Console for quick Apex execution, debug logs, and troubleshooting even though VS Code is the primary development environment.


